

How to add a NEW visitor tracking project to your TraceMyIP account
If you have not already registered a TraceMyIP account, please see the article on how to create a new TraceMyIP account.
TraceMyIP allows tracking simultaneously up to 50 projects under a single account. The number of the projects that can be tracked simultaneously depends on the level of subscription you have.
The first step after you begin to add a new project is to select a style for the tracker. You can embed an attractive visitor tracker that shows several statistics on your webpage itself. If you wish, the tracker can also be made invisible so that it works silently in the background.
- Login to your TraceMyIP account
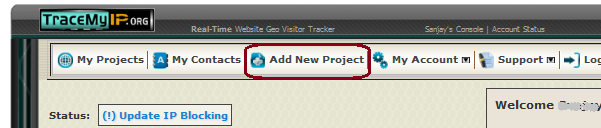
- Click on "Add New Project" menu button at the top of your TraceMyIP console
- Click on a tracker icon style that you would like to use
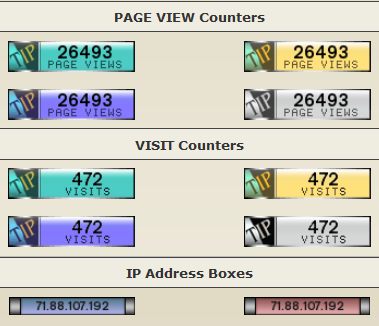
Note that you can select any of the tracker formats shown. The data that they capture is exactly the same, only the design of the visitor tracker varies.
Once you select the visitor tracker style, you are taken to a page where you provide details about the web site where you want to track the visitors.
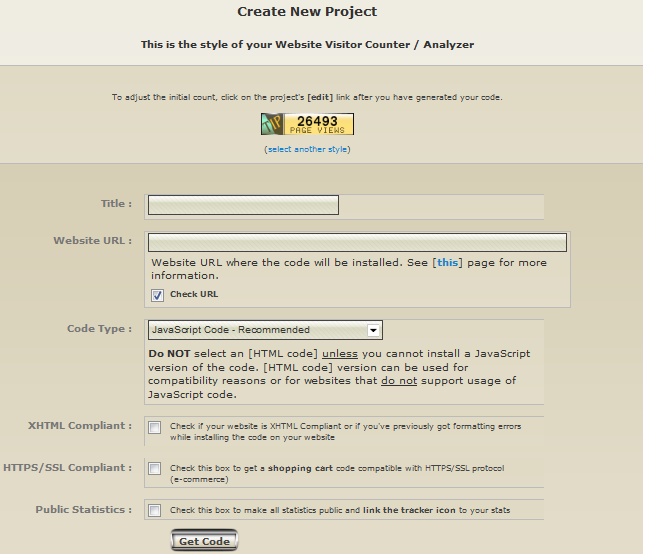
In the page above, the title can be any word or phrase you want.
- Enter a desired Title for your project
- Enter a primary URL of the website or your social network profile page. Make sure that this URL is accessible to public. Logout from your web page editor and visit this URL to confirm that it actually resolves. If you need help on determining a correct Website URL, see a document on how to setup a Project URL.
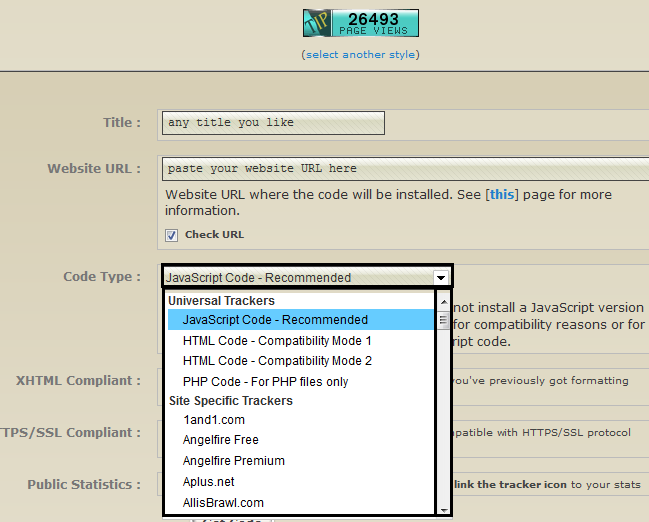
- The "code type" drop down box has options for JavaScript and HTML. Where possible, use JavaScript. For websites that are already in the TraceMyIP database the code type is automatically selected.
- Click on "Get Code" button at the bottom of the page
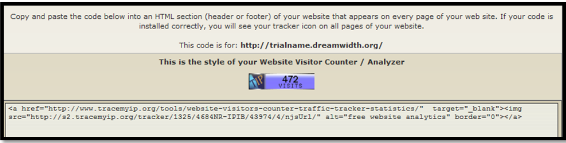
Once you have generated the code, this is provided in a text box from where you can copy the code and paste it in your website's editor.
Install the generated visitor tracker code in the header (recommended) or footer of your website and verify that it appears on all pages of your website. Only those pages that have the tracker code installed will be tracked.
Note that only a single style of visitor tracker icon must be used under the same website. Using more than one style of visitor tracker icon under the same website will result in duplicate code errors.
Since the procedure to add code varies with websites, we will discuss individual sites separately.
If you need an invisible tracker option, you can enable invisible tracker mode.